Building an 'XPS' power supply for a Naim CDS3
Apart from the regulator board and one of the transformers, I wanted to fit pretty much everything else onto a single pcb. This made the layout slightly tricky and a bit
cramped given the maximum width of a standard pcb board (203mm) and the need to accommodate another three transformers, but it just about fitted on whilst maintaining decent enough earthing
layouts.
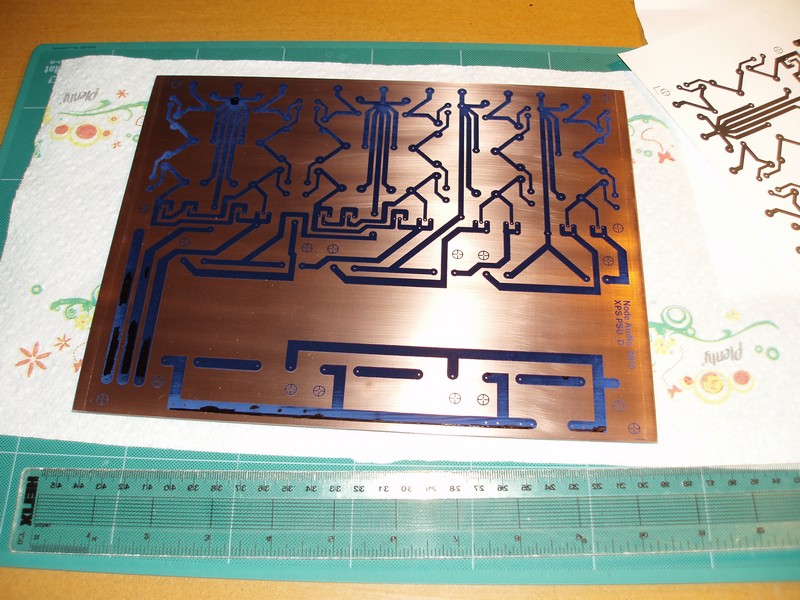
Here's the pcb pattern after being freshly ironed from the Press'n'peel onto a copper board. Despite judicious use of the iron, I still find that some bits of the Press'n'peel don't stick down properly and need touching up with a permanent marker - you can see that on the track in the foreground. I think I need to investigate getting hold of a s/h UV lightbox for future pcbs.
Here's the pcb pattern after being freshly ironed from the Press'n'peel onto a copper board. Despite judicious use of the iron, I still find that some bits of the Press'n'peel don't stick down properly and need touching up with a permanent marker - you can see that on the track in the foreground. I think I need to investigate getting hold of a s/h UV lightbox for future pcbs.
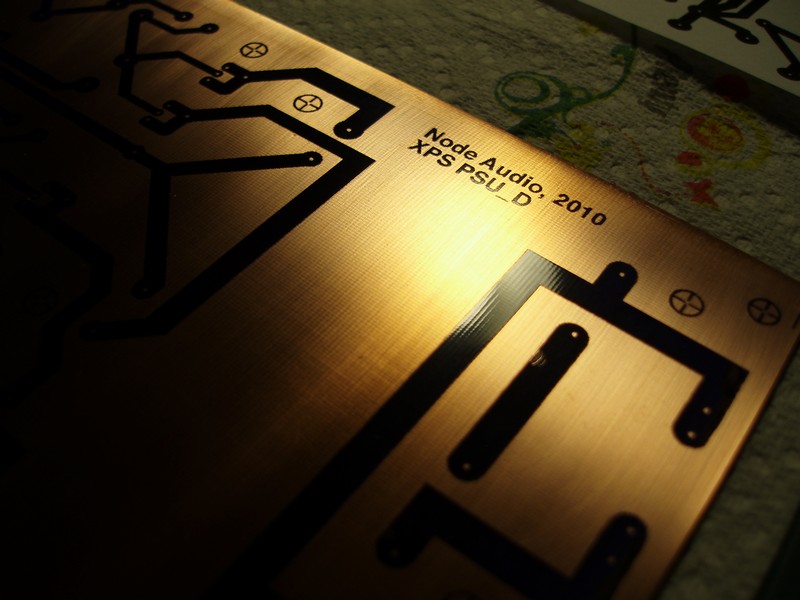
The 'D' means I did four drafts of the layout. I probably ought to get a bit more up-to-date and investigate some of the pcb programs that are available these days. I'm slightly embarassed to say that I still 'hand-draw' the layouts using ClarisDraw on an old Apple Macintosh. Still, before that I used to use tracing paper and sticky-backed plastic!
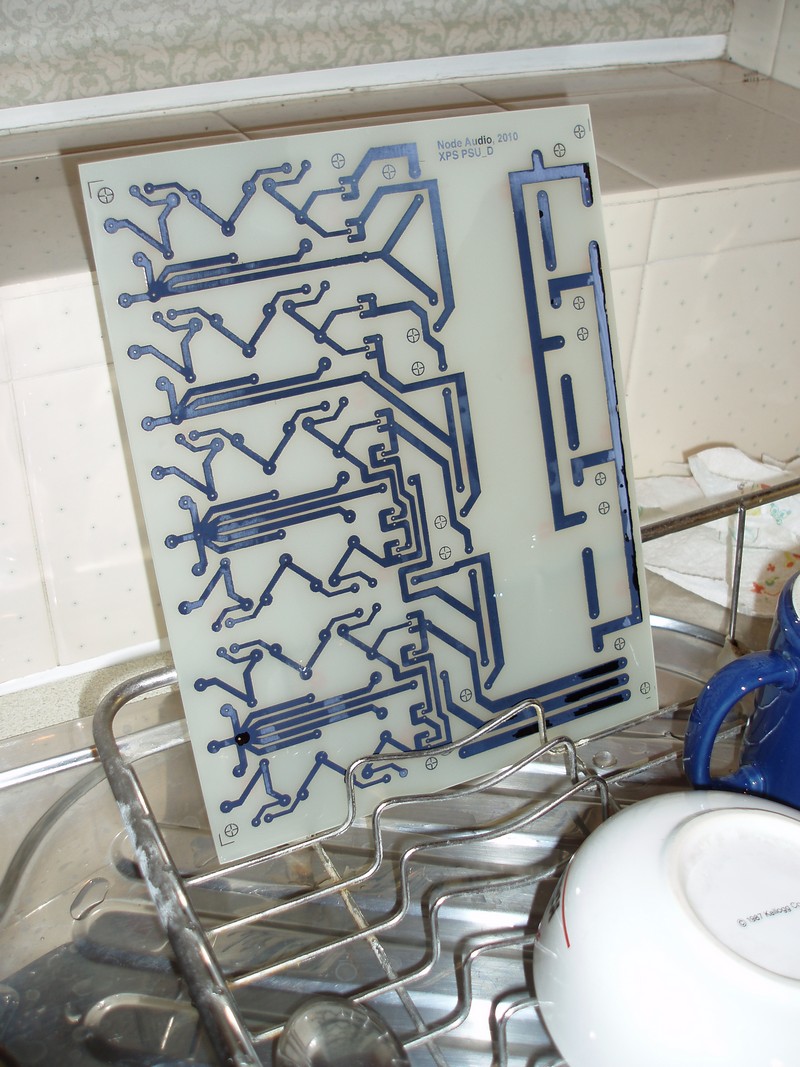
Here's the board fresh from the etching tank, washed and drying out on the draining rack: